Same-Day Free Estimates with 30-Minute Arrival Windows for Collin and Dallas County areas Since 1977.
How to Maintain Your Garage Door (The 15-Minute Annual Checklist)
Your garage door is the largest moving part of your home and one of the most used, the average household runs it through 1,000 to 1,500 open and close cycles per year. Unlike most home systems, it will usually tell you when something is wrong before it fails completely. The problem is that most homeowners don't check until something stops working. One annual inspection — fifteen minutes, no special tools — catches the issues that become expensive repair calls if they go unnoticed.
Here is the complete checklist, in order of importance.
The 15-Minute Annual Maintenance Checklist
| # | Task | How Often |
|---|---|---|
| 1 | Visual inspection — look at springs, cables, rollers, and track for visible wear, rust, or damage | Annually |
| 2 | Balance test — disconnect opener, lift door to waist height, confirm it holds without drifting | Annually |
| 3 | Lubricate springs, rollers, hinges, and opener rail with silicone spray | Annually (fall) |
| 4 | Inspect bottom seal — check for cracking, flattening, or gaps along the full width | Annually |
| 5 | Check weatherstripping on sides and top for tears or separation | Annually |
| 6 | Test auto-reverse safety sensors — place a 2x4 flat on the ground, close the door, confirm it reverses | Annually |
| 7 | Tighten any loose hardware — roller brackets, hinges, and track bolts vibrate loose over time | Annually |
| 8 | Annually |
Step-by-Step: What Each Task Involves
1. Visual Inspection
Start with the torsion spring above the door when it is fully closed. It should be a continuous coil — any visible gap or separation means it has broken and the door should not be operated. Move to the cables on each side of the door: they should be taut, straight, and free of fraying. Check the rollers — they should sit fully in the tracks with no wobble. Look at the tracks themselves for visible bending or debris. Finally, check the bottom panel and corners for dents or rust that could indicate structural wear.
2. The Balance Test
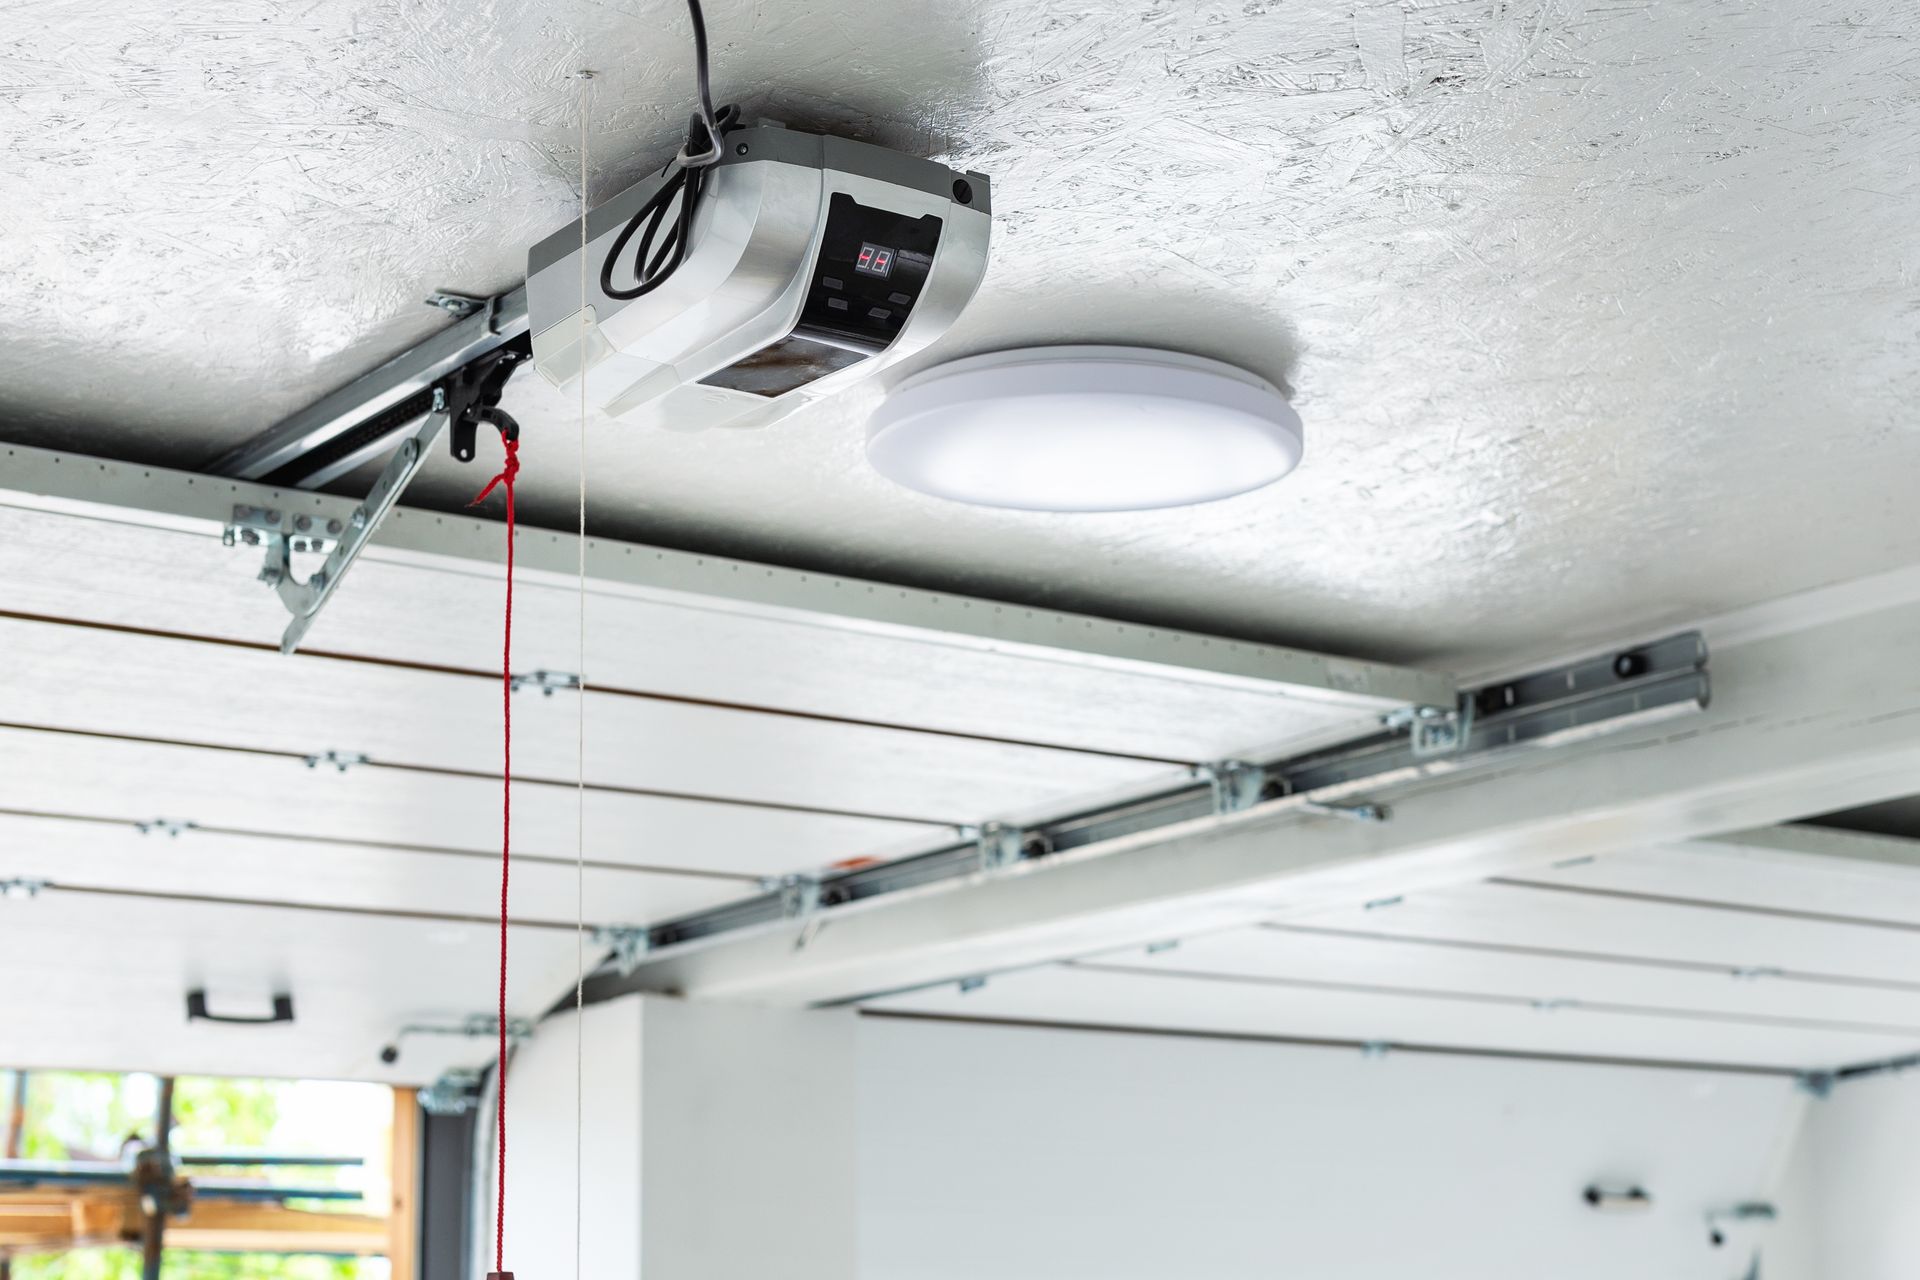
Pull the red emergency disconnect cord to disengage the door from the opener, then lift the door manually to waist height and let go. A well-balanced door stays put. If it drops toward the floor, the springs have lost tension, the door is heavier than the spring system can counterbalance. If it rises toward the ceiling, the springs are overwound. Either condition means it's time to have the springs assessed. A balanced door is the clearest indicator that the spring system is healthy.
3. Lubrication
Use a silicone-based spray lubricant — not WD-40, which evaporates quickly, attracts dust, and is not a long-term lubricant. Apply it to the torsion spring coils, every roller, every hinge, and the opener's drive rail. In the DFW climate — where summer heat exceeds 100°F, and winter cold snaps cause rapid metal contraction — lubricant breaks down faster than in moderate climates. A door that ran quietly last fall may grind by November without a fresh application.
4. Bottom Seal and Weatherstripping
The rubber bottom seal is the most wear-prone component on most residential doors. Run your hand along it with the door closed — it should compress evenly with no gaps, cracks, or sections that have gone flat. Replacing a worn seal is a straightforward task that significantly improves energy efficiency in attached garages and keeps insects, water, and dust out. Check the side and top weatherstripping for tears or separation that create air gaps around the closed door.
5. Safety Sensor Test
Place a 2x4 flat on the floor directly in the door's path and close the door with the opener. It should reverse immediately on contact. If it doesn't reverse, or if it reverses before touching the board, the sensor alignment or force settings are off. Start by wiping the sensor lenses with a dry cloth, dust interference is the most common cause. If the issue persists after cleaning, the sensor bracket needs realignment or the opener's force limit needs adjustment.
6. Hardware Tightening
Vibration from thousands of open and close cycles gradually loosens the nuts and bolts on roller brackets, hinge plates, and track mounting hardware. Run a socket wrench along all visible hardware connections — not enough to overtighten, but enough to confirm nothing is loose. A loose roller bracket is one of the most common causes of a door that has started to move unevenly or make new noises.
What to Call a Technician For
These findings during your annual check mean call a pro:
- Any visible gap in the torsion spring coil
- Door fails the balance test — drifts up or drops when released at waist height
- Frayed, kinked, or snapped cables
- Sensors that won't correct after cleaning and gentle realignment
- Grinding or uneven movement that persists after lubrication
If your annual check turns up a spring concern, our garage door spring replacement page covers what replacement involves and what to expect. For general repair questions across Dallas, Coppell, and the DFW area, visit our garage door services page to learn more or call (972) 422-1695.
Recent Posts